- @sik_willy_miniature_art
Hey everyone! My name is Will Hahn, and I’m a miniature painter from Maryland, USA. I fell in love with miniatures and wargaming in my childhood many years ago, and began painting again later in life. In recent years I’ve started painting semi-professionally doing box arts and teaching at conventions in the United States. I’ve also enjoyed a fair bit of success on the Miniature Painting Competition circuit, receiving awards and accolades in competitions such as Golden Demon and Monte San Savino, as well as various Best of Show awards in the US (Capital Palette, MFCA, and the LVO Painting Championships).
Before my foray into competition and display painting, however, my main focus was gaming and army building. When many of the restrictions implemented during the COVID pandemic were starting to be rescinded, I once again began painting a personal army project – this time implementing a wide range of skills, tools, and experiences I have gleaned over my time as a display painter.
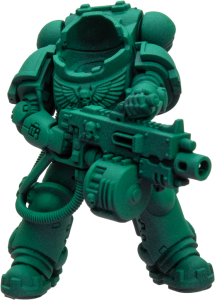
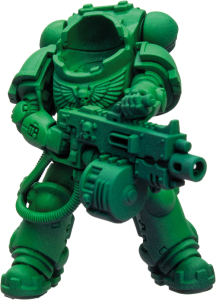
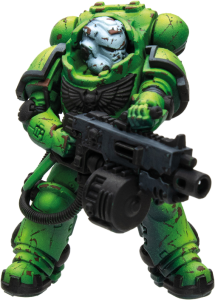
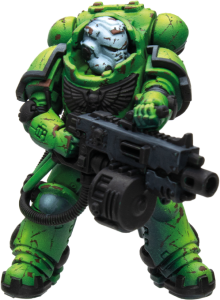
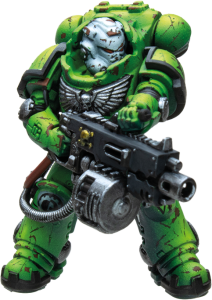
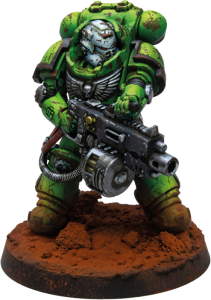
I have always been a Warhammer fan since my introduction to miniature painting; it was really the impetus that started me down this road. One faction that I had always been intrigued by and drawn to was the Sons of Medusa. They had a unique history in the grand span of Warhammer lore, Space Marines have always had great models as a Games Workshop flagship line, and not the very least they had that ultra-cool bright green armor. But that color scheme – one of my favorite parts about them – is exactly what always held me back at the time with my limited skills. Bright green behaves like yellow in many ways and it can be notoriously difficult to paint. I’m here to show you that anything can be easy if you have the right knowledge base and tools.
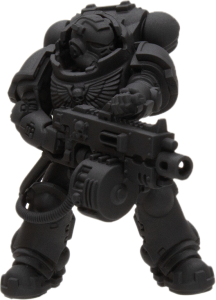
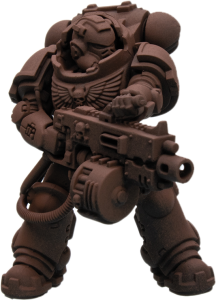
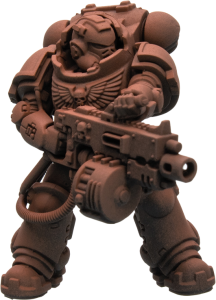
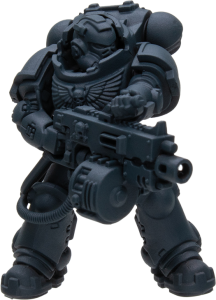
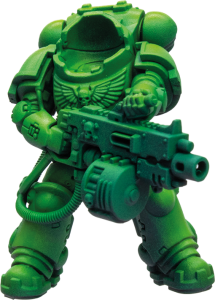
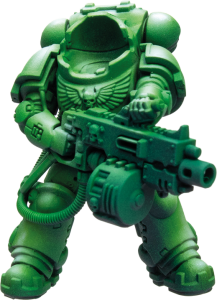
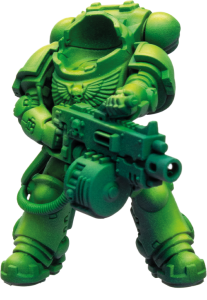
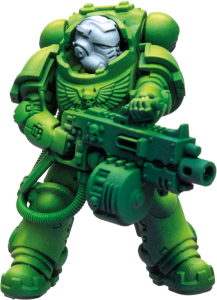
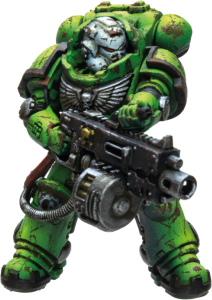
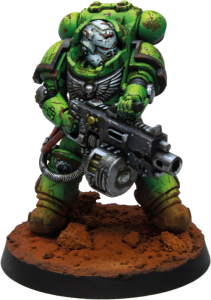
I am sharing with you the exact process and recipe I developed for use on my personal army, shown step by step on a Heavy Intercessor gunner. With a very finished-looking armor, which is the vast majority of the model, we can then take some shortcuts to save time on the other elements as they tend to fade out of focus especially when compared to the vibrancy of our green.
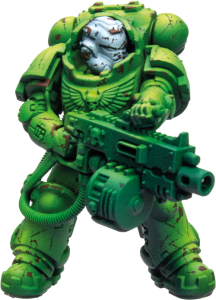
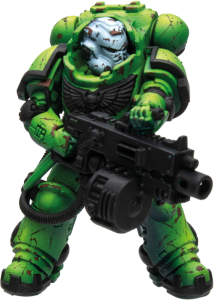
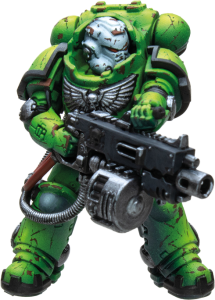
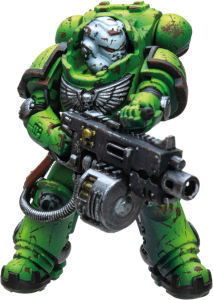
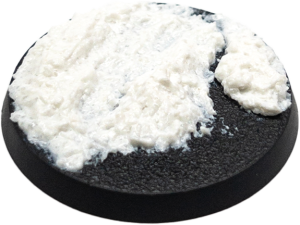
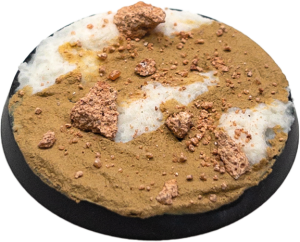
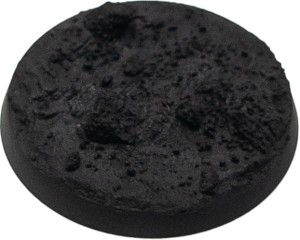
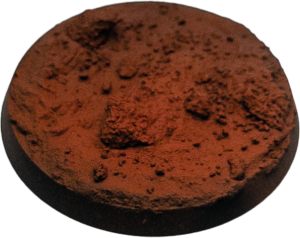
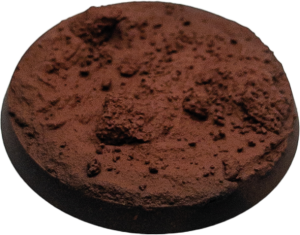
We will then make use of an enamel panel liner to simultaneously create stains, grime, and darkline the armor in a single step. The final step is with some dry pigments, to create a dusty effect on our base and tie the miniature to its environment.
This tutorial is meant for batch painting, especially at the early airbrushing steps. Trying to do single models with this process will result in a lot of wasted time and paint on color changes in your airbrush.